VirtualBox
This guide provides a comprehensive walkthrough for setting up a new Virtual Machine (VM) and installing ParrotOS using VirtualBox.
Prerequisites
If you are using Windows or macOS, download the latest VirtualBox installer from the official website.
On GNU/Linux environments, you can install it via the terminal:
sudo apt update sudo apt install virtualbox virtualbox-ext-pack
Ensure you have downloaded the ParrotOS ISO of your choice from the official download page.
Creating a New Virtual Machine
Once VirtualBox is installed, launch the application and click on New to create a new virtual machine.
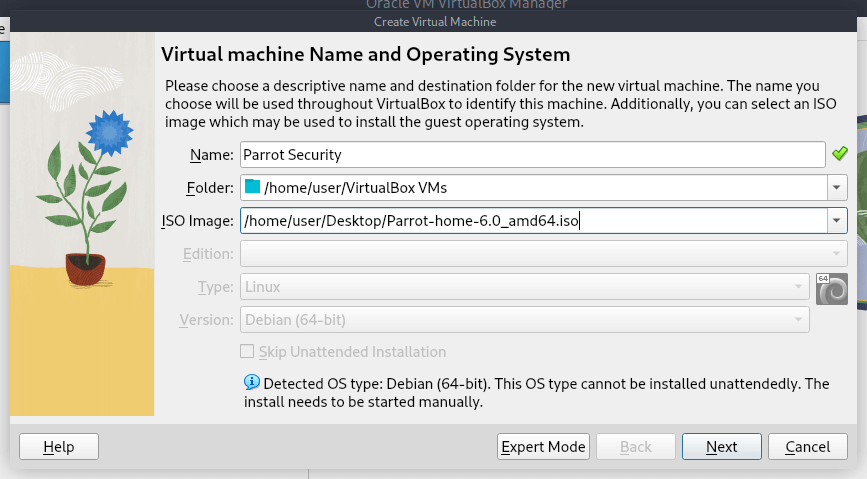
1. Name and Operating System
Enter Parrot OS as the name. Load your downloaded ParrotOS ISO by clicking the dropdown arrow and selecting the file. The Type (Linux) and Version (Debian 64-bit) should be detected automatically.
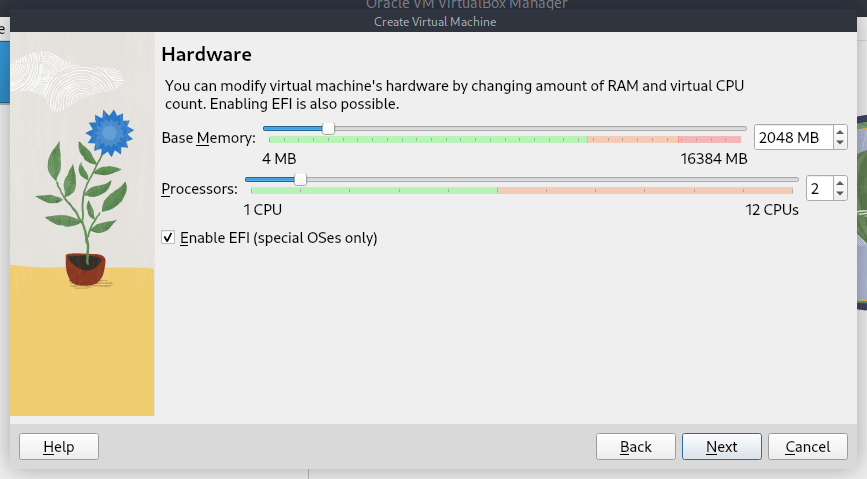
2. Allocate Memory and CPU
While the OS can run on minimal resources, at least 2 GB of RAM (2048 MB) and 2 CPU cores are strongly recommended for a smooth experience in both the Security and Home Editions.
Choose the best settings based on your host machine's available hardware. Check the Enable EFI box and click Next.
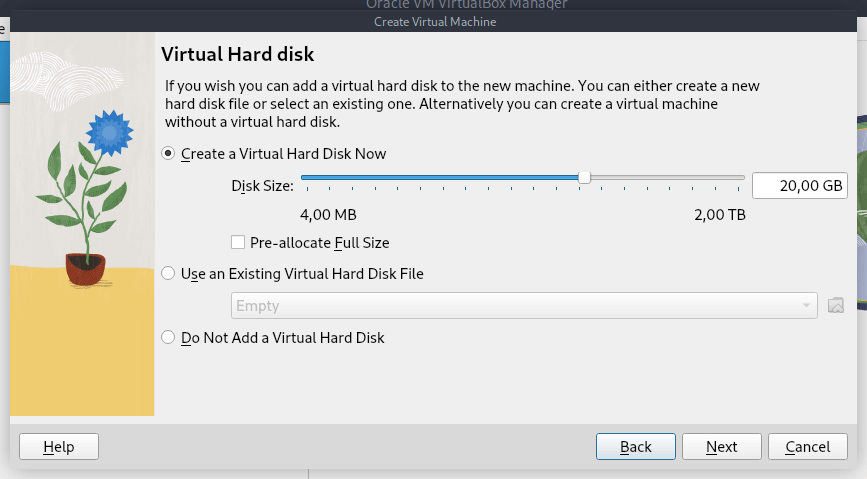
3. Create a Virtual Hard Drive
Select Create a Virtual Hard Disk Now. Set the disk size to at least 20 GB for the Home Edition and 40 GB for the Security Edition.
By default, this creates a Dynamically Allocated Disk. If you prefer the VM to reserve the full storage space immediately for slight performance gains, check Pre-Allocated Full Size.
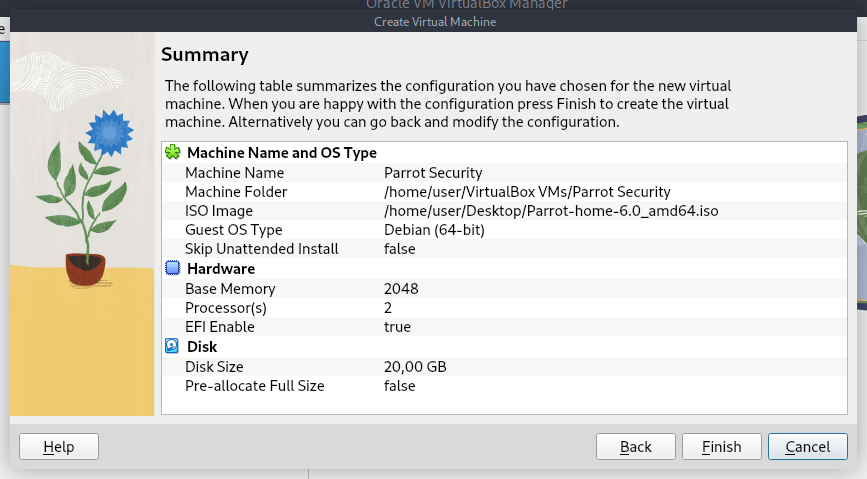
Review your settings on the summary screen and click Finish.
Modifying VirtualBox Settings
Before starting the installation, optimizing the VM settings ensures better performance and integration with your host machine. Select your new VM and click on Settings.
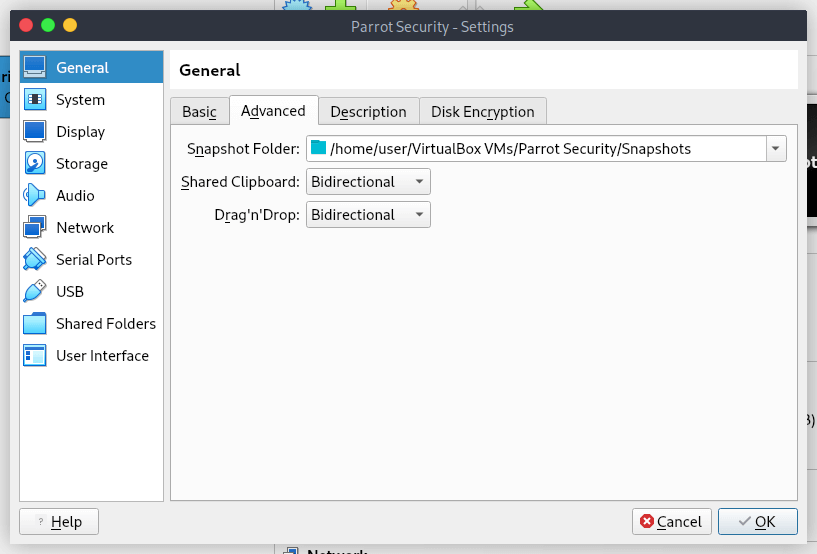
Shared Clipboard and Drag 'n' Drop
Navigate to General > Advanced. Change both Shared Clipboard and Drag 'n' Drop to Bidirectional. This allows you to copy and paste files or text seamlessly between your host and the Parrot VM.
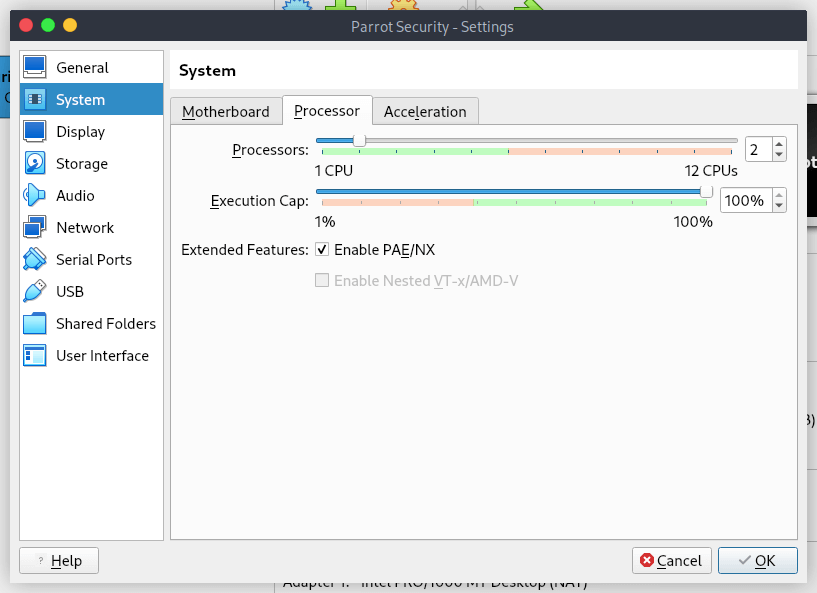
Processor and PAE/NX
Navigate to System > Processor. Ensure at least 2 cores are allocated (do not allocate more physical cores than your host machine has available).
Check the box to Enable PAE/NX.
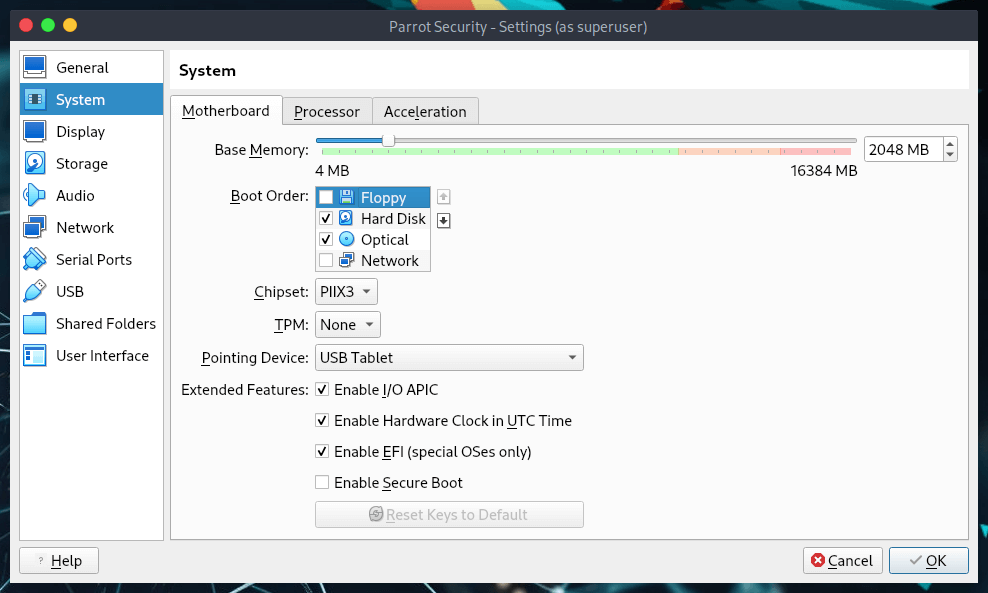
Motherboard Options
Navigate to System > Motherboard. Uncheck the Floppy drive option and ensure Enable I/O APIC is checked.
If your host machine has abundant RAM (e.g., 16 GB or more), you can increase the Base Memory allocation here for better VM responsiveness.
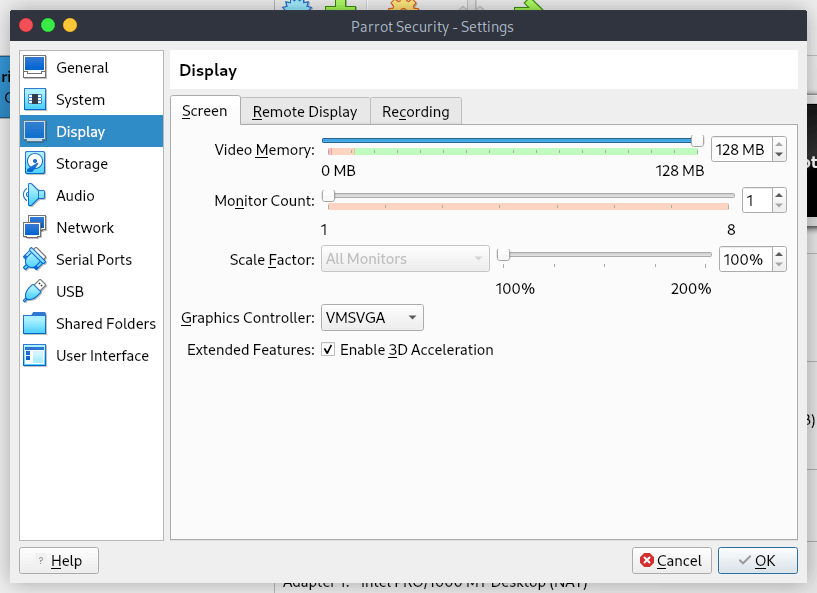
Video Memory and 3D Acceleration
Navigate to Display > Screen. Slide the Video Memory up to 128 MB for a responsive desktop environment.
Check the box for Enable 3D Acceleration.
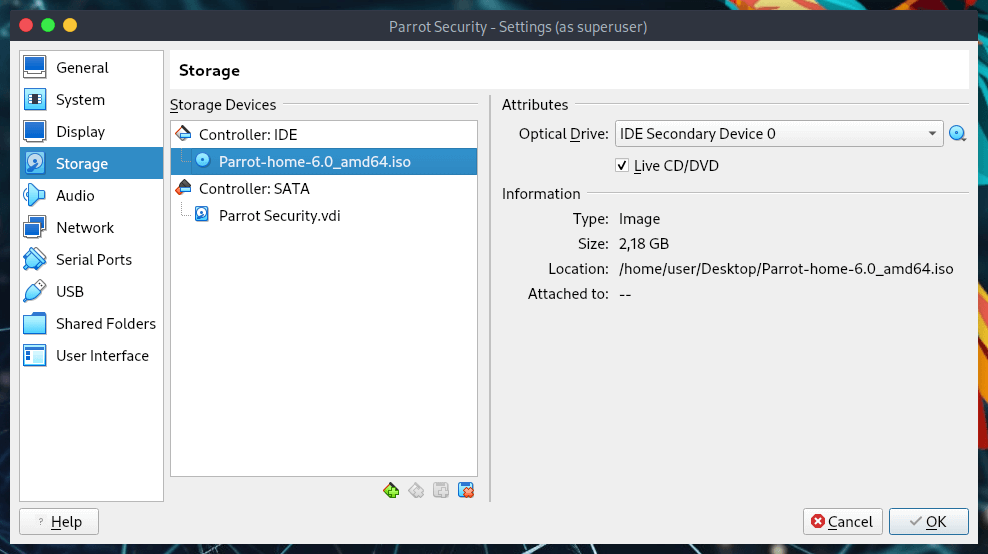
Storage and ISO Loading
Navigate to Storage. Click on the Empty CD icon under the IDE Controller. On the right panel, click the small CD icon and choose your downloaded ParrotOS ISO.
If you only want to test ParrotOS without installing it, check the Live CD/DVD box to run the live environment directly.
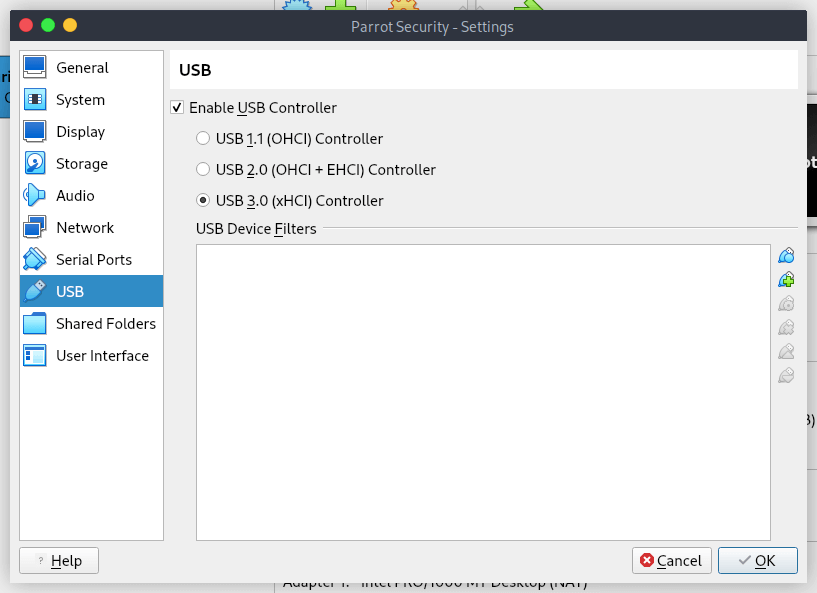
Network and USB Settings
- Network: The default NAT setting is usually sufficient for internet access.
- USB: To enable USB 2.0/3.0 support, ensure you have the VirtualBox Extension Pack installed on your host machine. This also enables Remote Desktop Protocol (VRDP) and webcam passthrough.
Your VM is now fully configured and ready.
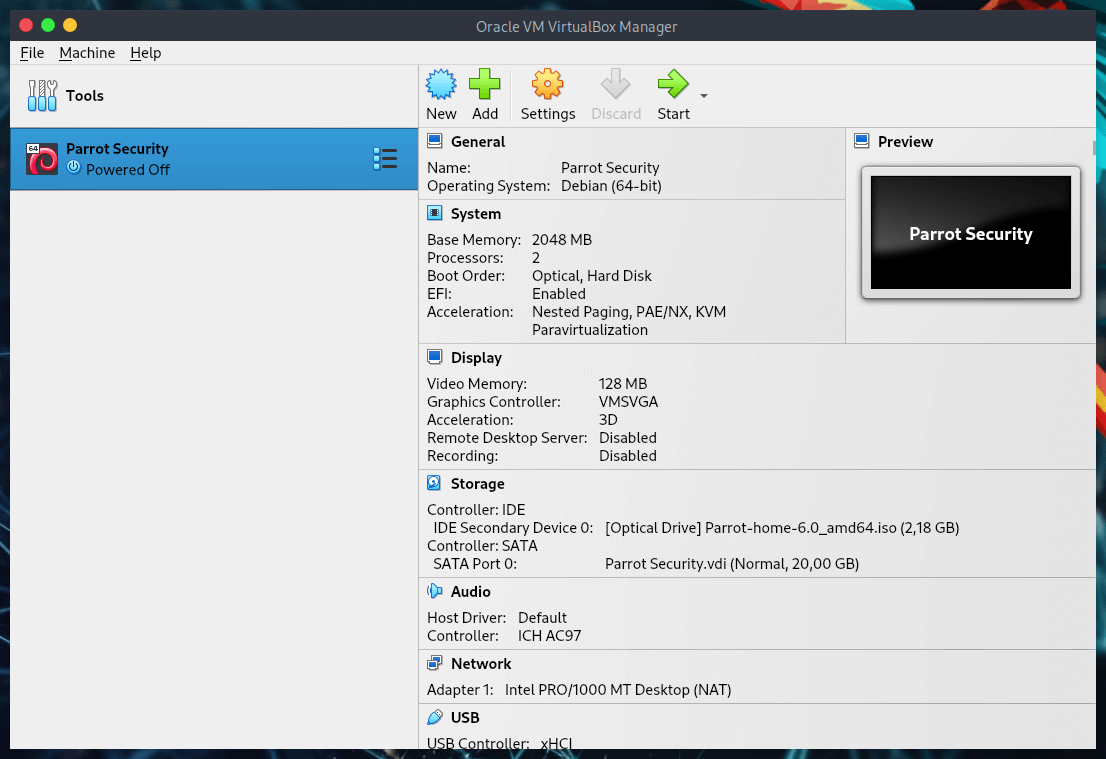
Booting ParrotOS ISO
- Select your configured Virtual Machine and click Start.
- From the boot menu, select Try/Install and press Enter.
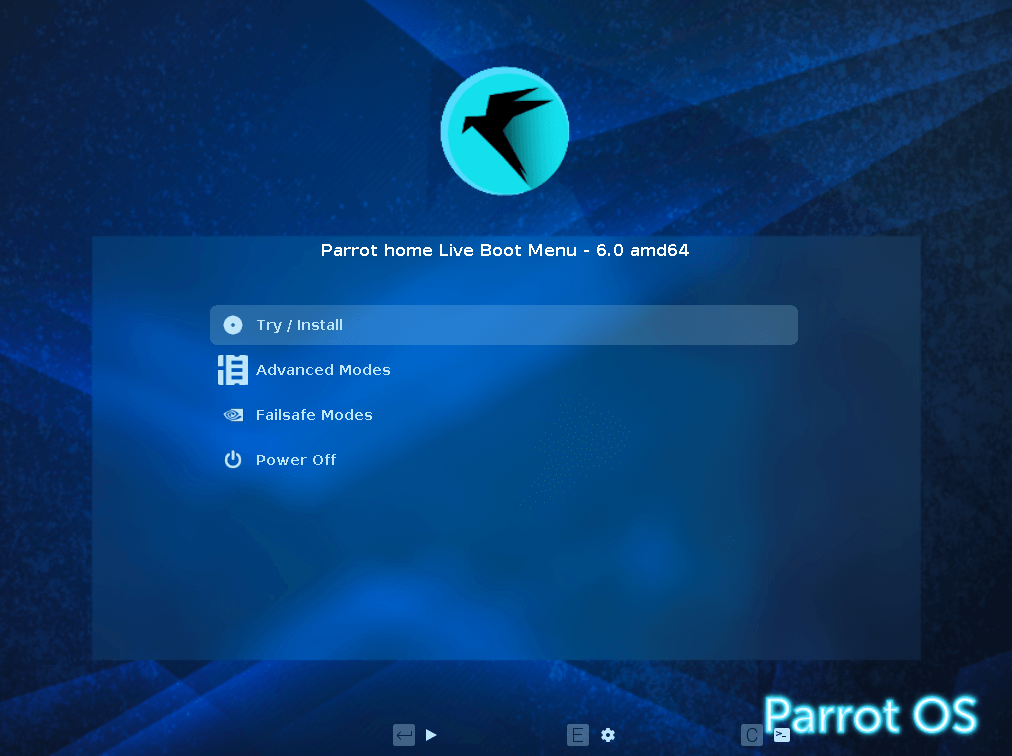
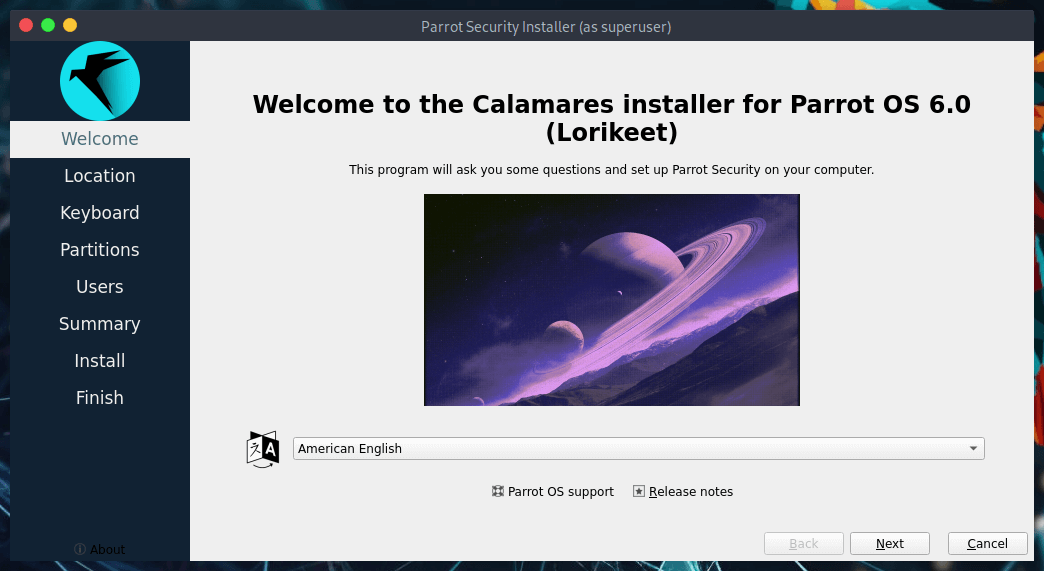
- Once the live desktop loads, double-click the Install Parrot icon to launch the Calamares installer.
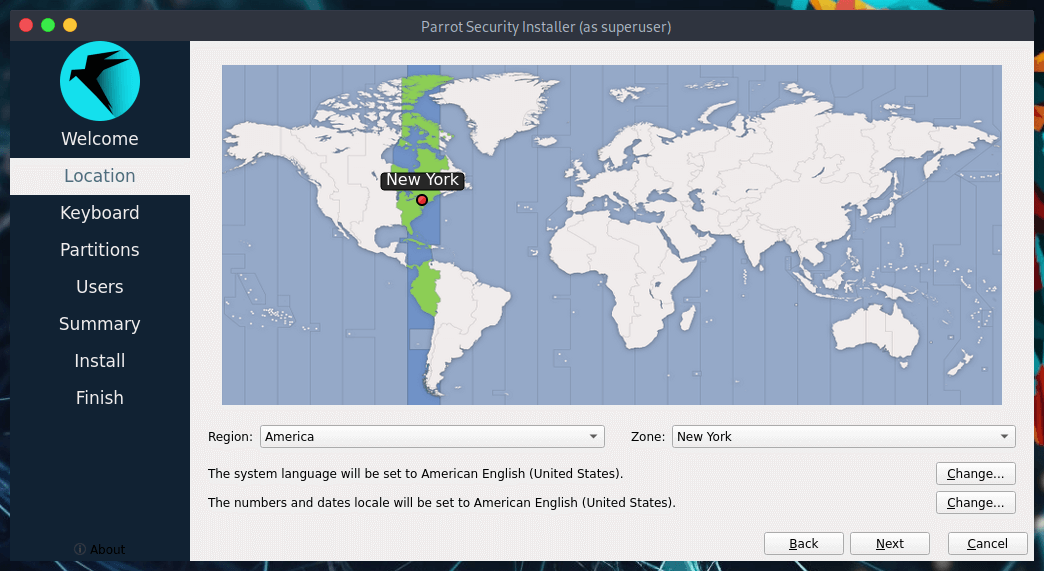
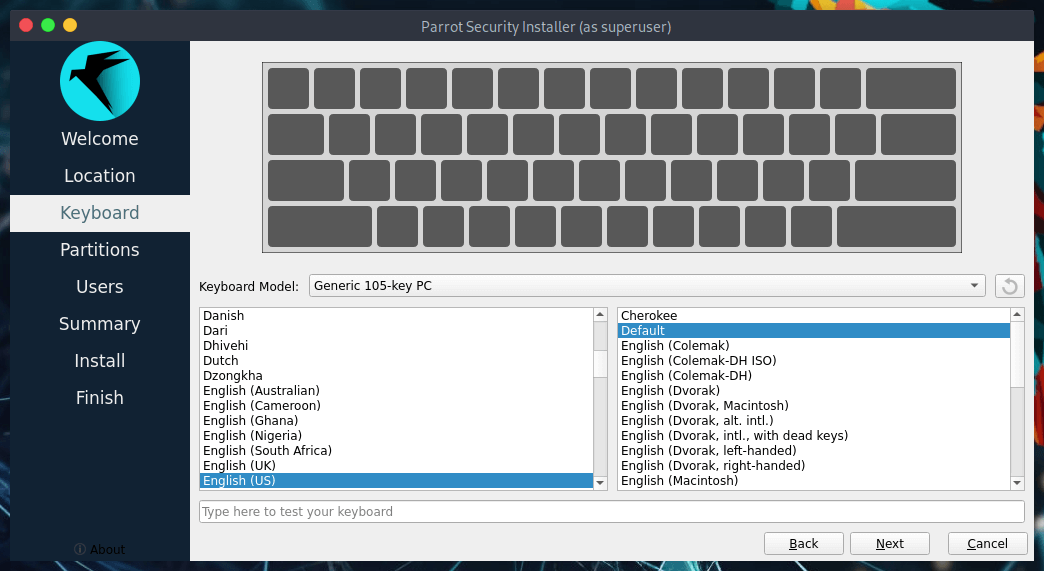
Follow the on-screen instructions to select your Language, Timezone, and Keyboard Layout.
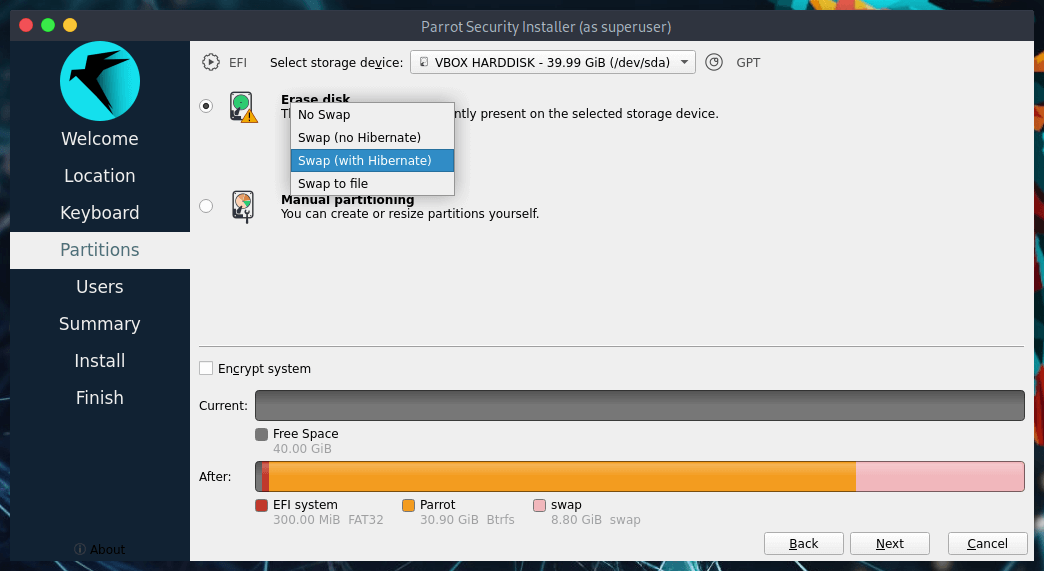
Disk Partitioning
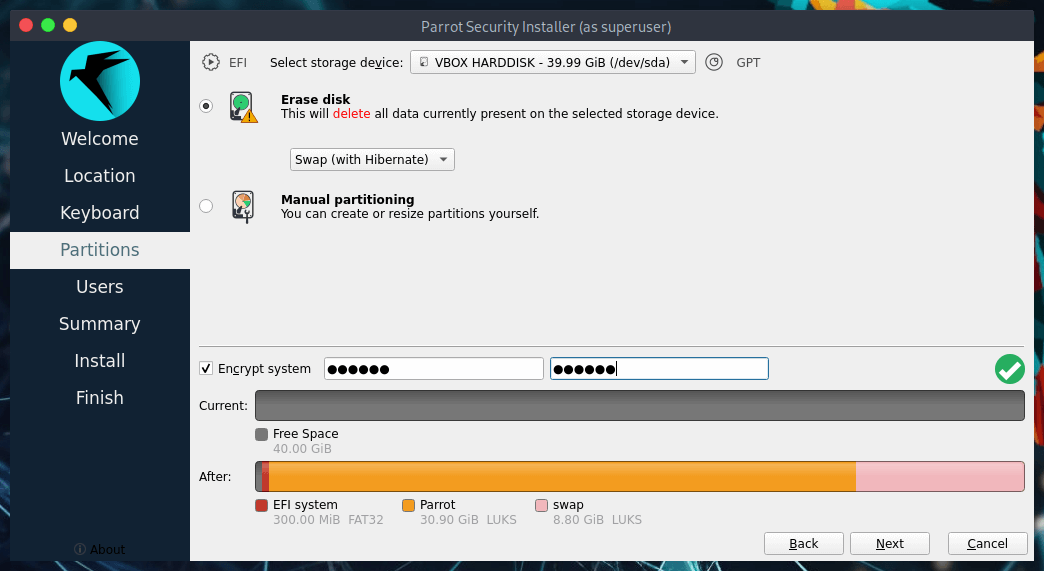
Select Erase disk for a guided, automated partitioning process. This will format the virtual hard drive (not your physical host drive).

You will have the option to set up Swap space or encrypt the virtual system with a passphrase if desired.
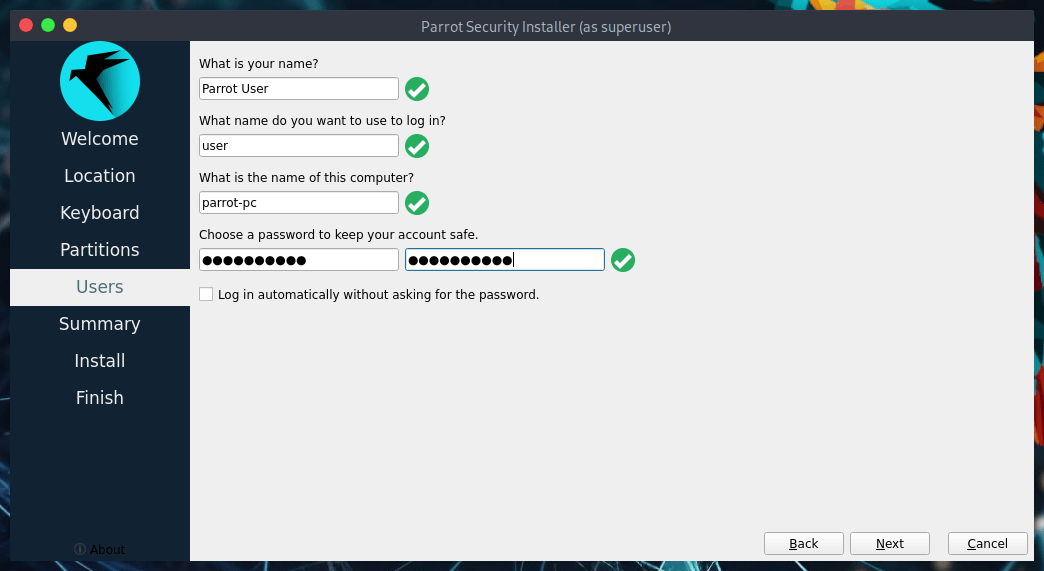
User Account Setup
Create your primary user account and establish a strong password.
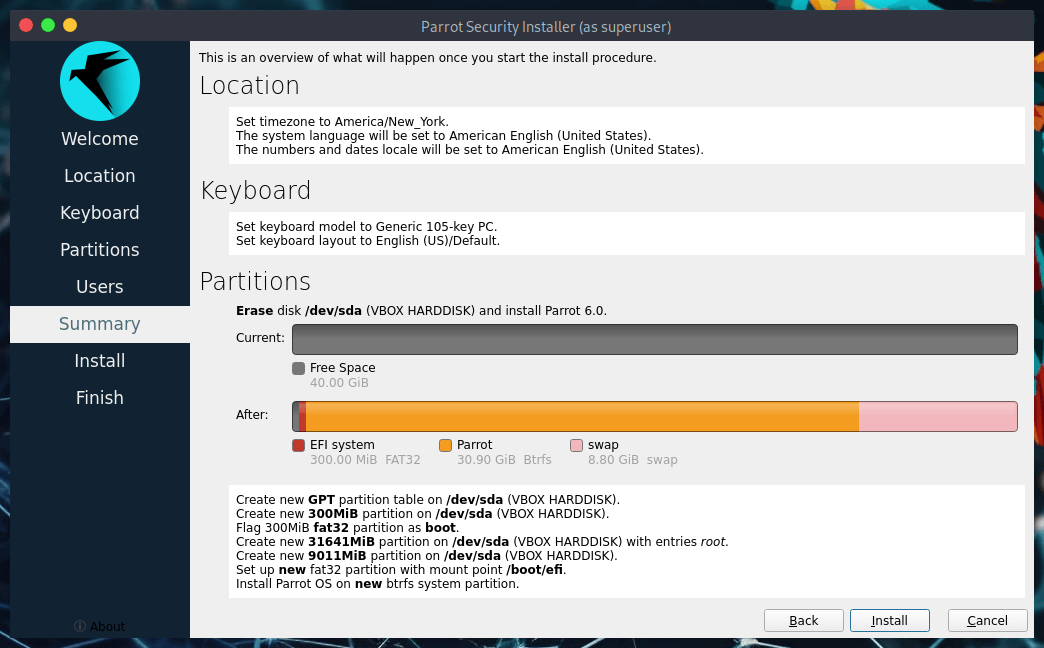
Completing the Installation Process
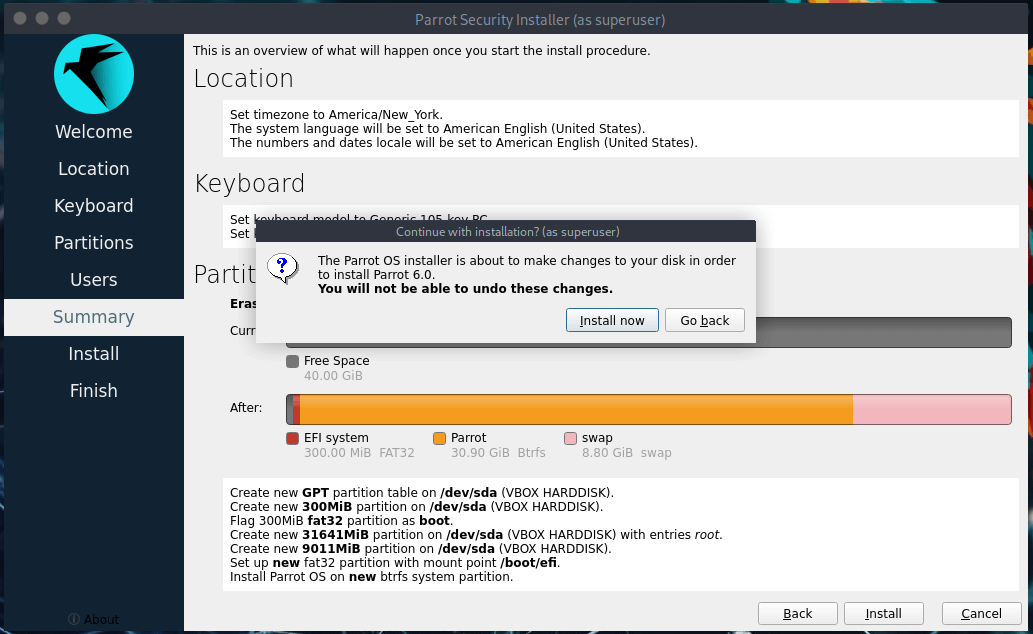
Review the installation summary and click Install. Confirm by clicking Install now.
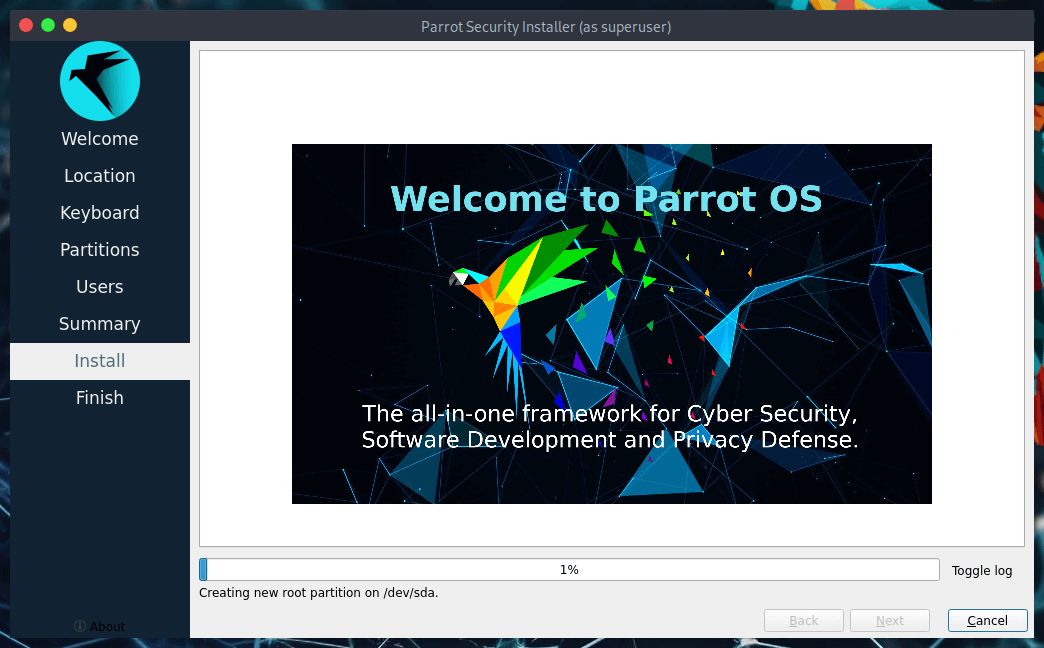
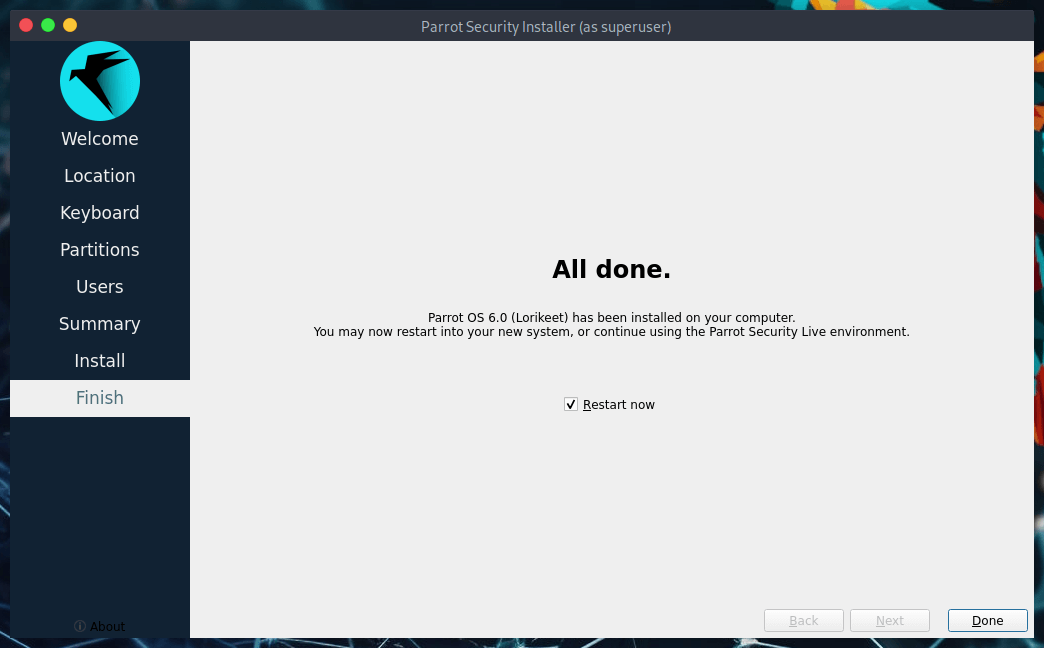
Wait for the process to complete. Once finished, check the Restart now box and click Done.
First Login and Post-Installation
After the system reboots, enter your newly created password to access your ParrotOS desktop.
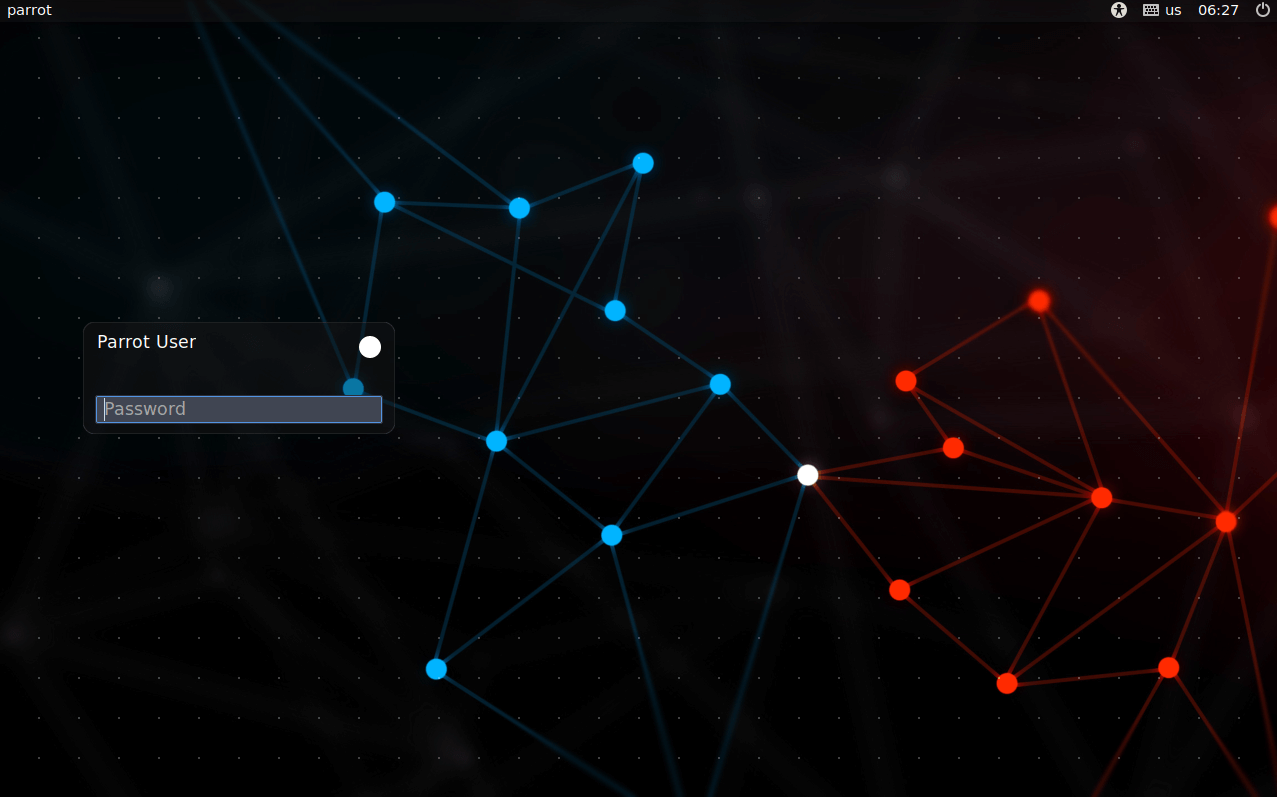
Welcome to ParrotOS!