VirtualBox Guest Additions
The Guest Additions are designed to be installed inside a virtual machine after the guest operating system has been set up. They consist of device drivers and system applications that optimize the guest operating system for better performance and usability.
Features of VirtualBox Guest Additions
- Mouse pointer integration: Pressing the Host key is no longer required to "free" the mouse from being captured by the guest OS.
- Shared folders: Easily share directories between the Host and the Parrot VM.
- Better video support: Provides custom video drivers that allow for extra high and non-standard video modes, accelerated video performance, and dynamic monitor resolution resizing.
- Seamless windows: Allows individual windows displayed on the desktop of the virtual machine to be mapped on the host's desktop, as if the application was running natively on the host.
- Generic host/guest communication channels: Enables control and monitoring of guest execution through specific "guest properties," exchanging data bits between the guest and host.
- Time synchronization: Automatically synchronizes the date and time from the host to the Parrot VM.
- Shared clipboard: Allows copying and pasting text or files between the host and Parrot.
For more information, please refer to the official VirtualBox manual.
Guest Additions Installation
Method 1 (Recommended & Easiest)
The most reliable way to install Guest Additions on Parrot OS is via the official APT repository.
1. Open a terminal and update your package list:
sudo apt update
2. Install the Guest Additions packages:
sudo apt install -y virtualbox-guest-utils virtualbox-guest-x11
3. Once the installation is complete, reboot your virtual machine:
sudo reboot
4. After rebooting, you can verify if the Guest Additions are running correctly with:
sudo /usr/sbin/VBoxService -V
Method 2 (From VirtualBox ISO)
If you prefer to install the additions directly from the VirtualBox hypervisor ISO, follow these steps:
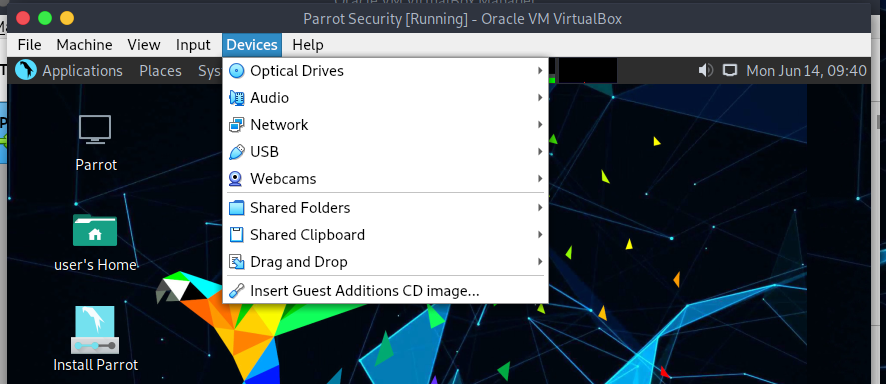
1. On the Virtual Machine menu bar, select Devices > Insert Guest Additions CD image....
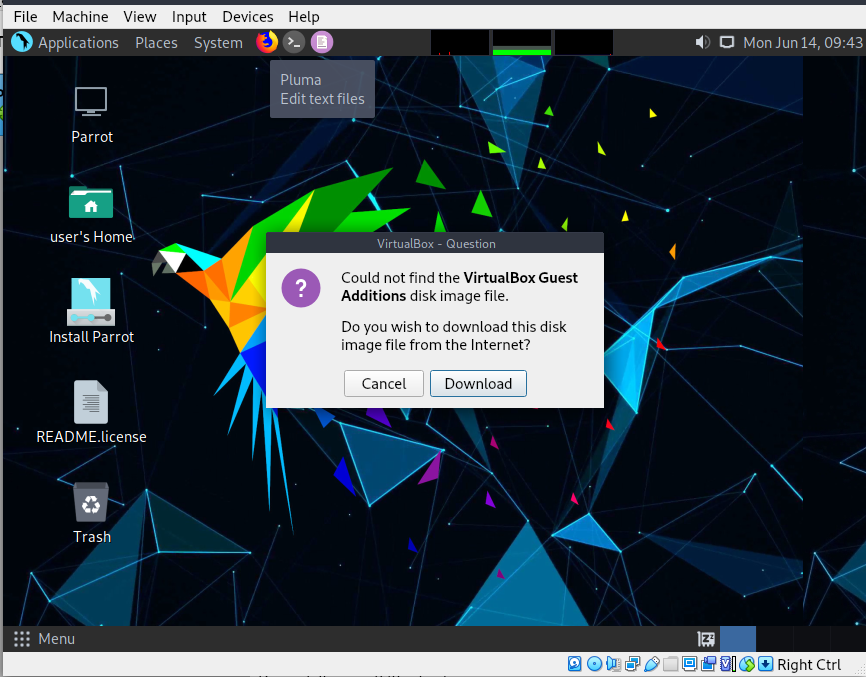
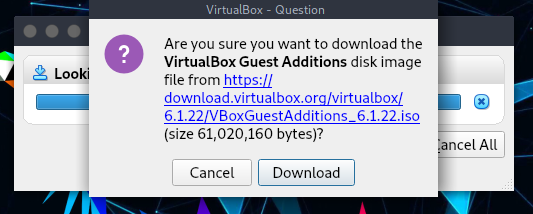
2. VirtualBox may prompt you to download the Guest Additions if they are not present on your host. Click Download.
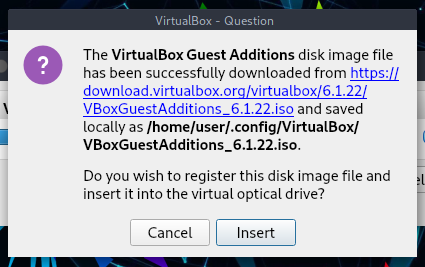
Click on Insert.
If it returns an error stating it cannot mount the ISO, turn off the virtual machine. From the main VirtualBox screen, go to Settings > Storage, add a new optical drive, set it as Secondary (to avoid boot issues), and manually load the downloaded ISO.
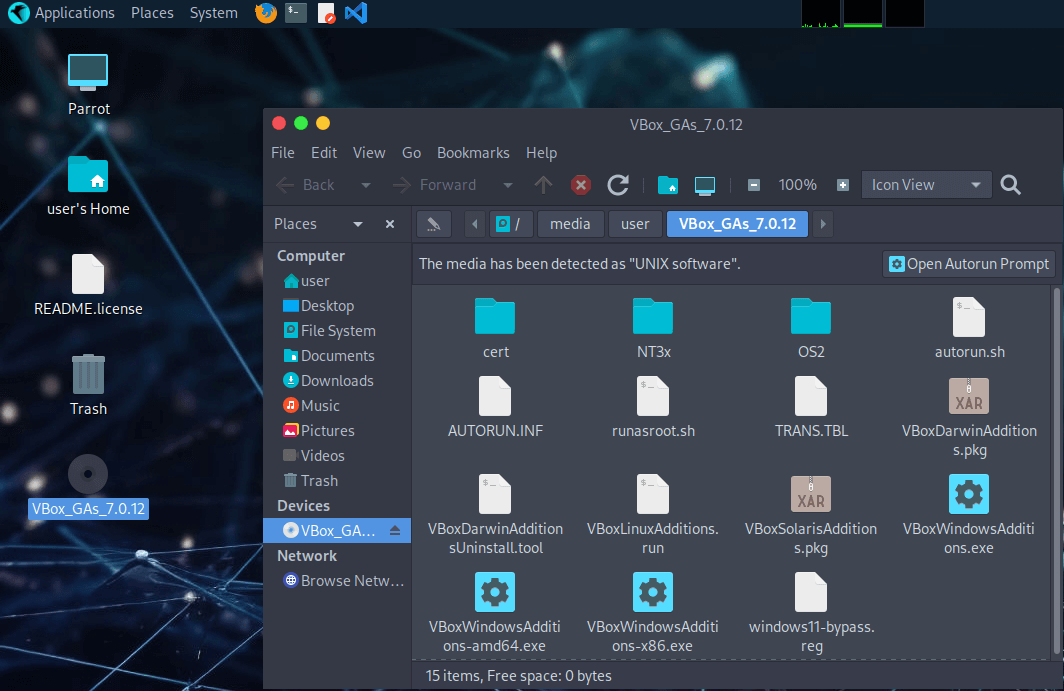
3. Navigate to the mounted Guest Additions directory, open a terminal there, and grant execution permissions to the installer:
sudo chmod +x VBoxLinuxAdditions.run
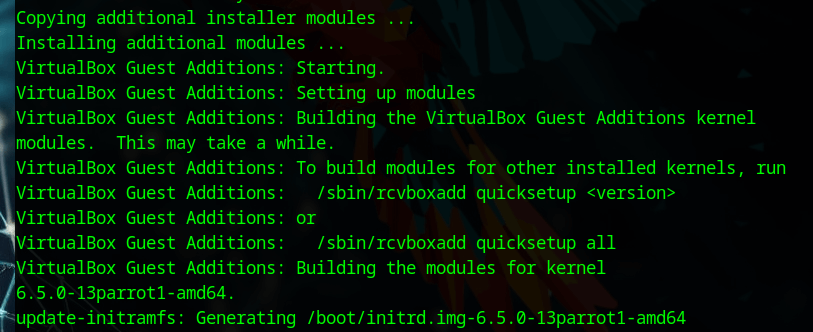
Execute the script:
sudo ./VBoxLinuxAdditions.run
4. Wait for the installation process to finish. Once completed, reboot the virtual machine:
sudo reboot